Maytag Dryer Not Heating? Causes and DIY Repair Guide
If your Maytag dryer tumbles but produces no heat, the problem is rarely the heating element itself. In most cases, a blown thermal fuse, faulty cycling thermostat, or clogged vent cuts off heat before the element fails. This guide walks you through the logical troubleshooting sequence—from the simplest vent check to multimeter testing—so you can diagnose and fix the issue safely, and know exactly when to call a professional.
Why the Heating Element Is Usually Not the Culprit
Most DIYers immediately suspect the heating element when a dryer runs cold, but the element is actually one of the least common failure points on a Maytag dryer. The real story is about thermal protection. Maytag dryers use two or three thermal fuses and thermostats designed to blow before the element overloads. A blocked lint path or restricted exhaust causes internal temperatures to spike, triggering one of these safety devices. Replacing just the fuse (typically $5–$15) fixes the issue in the majority of cases, while a heating element replacement ($30–$60) is often unnecessary.
What this means for your diagnosis: test thermal fuses and cycling thermostats first. If you skip them and swap the heating element, you may still have a blown fuse that prevents heat—and you’ll have wasted time and money.
Tools and Safety Prep – What You’ll Need Before Opening the Dryer
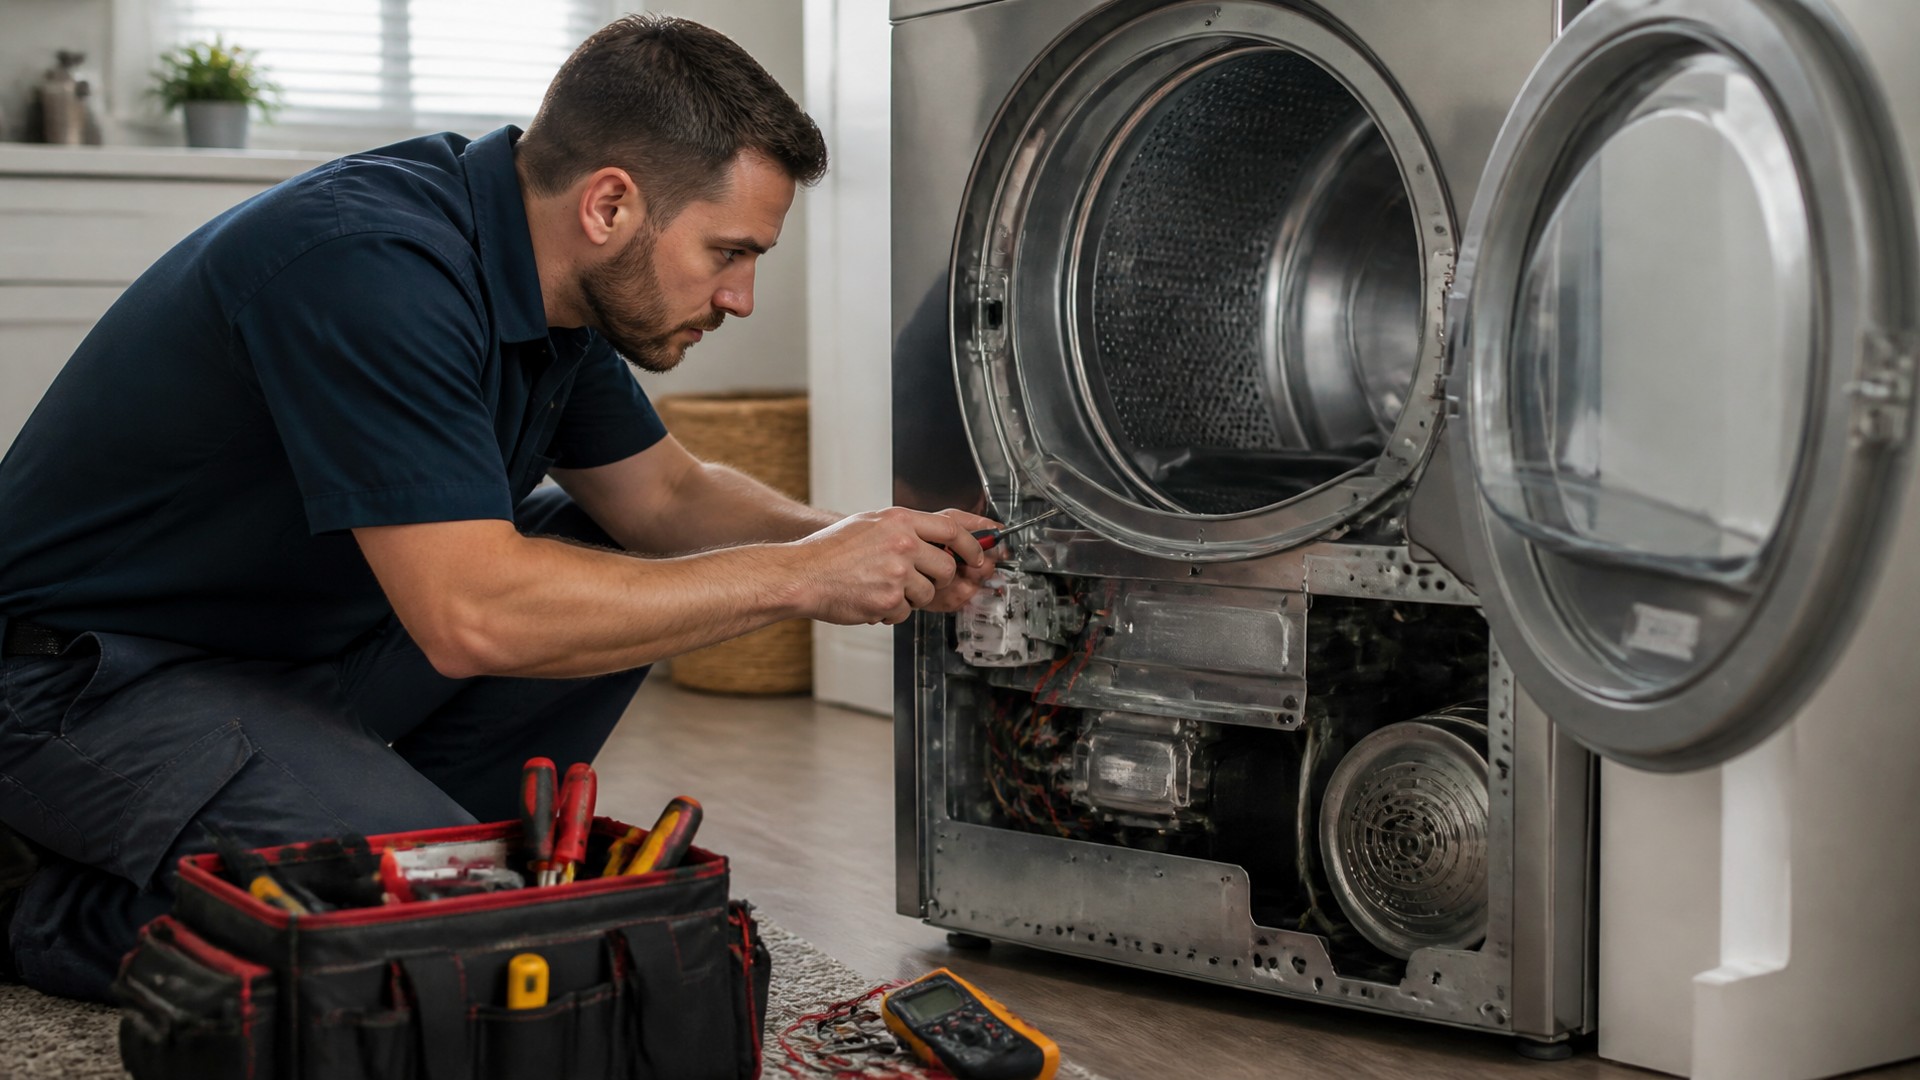
Before any diagnosis, unplug the dryer (or shut off the gas supply and electricity for gas models). A thermal fuse failure is often the result of a safety shutdown, not a random part failure, so you want to confirm the root cause before replacing anything.
“The U.S. Consumer Product Safety Commission emphasizes that lint accumulation in dryer vents is a leading cause of home fires, and the thermal fuse is a key safety component that cuts power to the heating element when temperatures exceed safe limits.”
Gather these items:
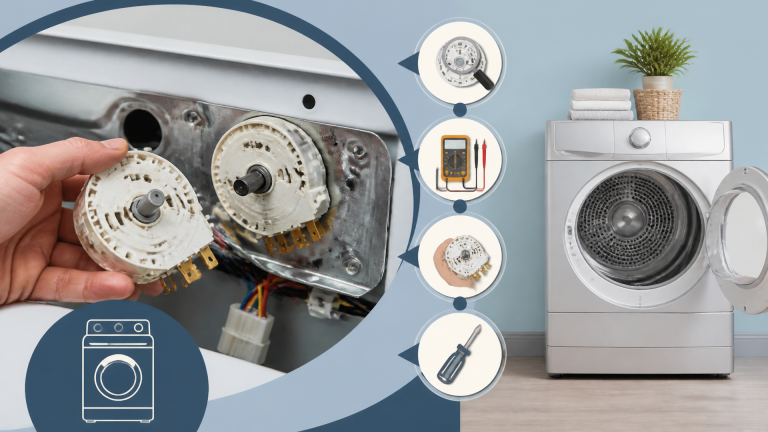
- Multimeter (set to continuity or ohms) – essential for testing fuses, thermostats, and the heating element.
- Screwdriver set (Phillips and flathead) – to remove back panel or front panel depending on model.
- Vacuum with crevice tool – to clean lint from inside the cabinet and exhaust path.
- Safety gloves – lint and dust can irritate skin, and edges inside the dryer may be sharp.
- Replacement parts (thermal fuse, cycling thermostat, or heating element) – order after testing, not before. Avoid buying a heating element until you confirm the existing one is open.
Pre-diagnosis checklist. Run through these items before opening the machine. Each is a quick pass/fail check that can save you an hour of disassembly.
- Is the dryer plugged in and the circuit breaker not tripped? (If the drum turns, you already know power is present.)
- Is the lint screen clean? (A dirty screen can reduce airflow enough to trigger the thermal fuse.)
- Is the exhaust vent hose kinked or crushed? (Check the flex hose behind the dryer.)
- Does the dryer produce any abnormal sounds (squealing, thumping) that suggest a blower or roller issue?
- Does the dryer have an error code displayed on the control panel? (Refer to your model’s manual for code definitions.)
If all five checks pass, proceed to the diagnostic steps below.
Step-by-Step Diagnosis: From Simplest to Advanced Checks
Step 1: Clear the Exhaust Vent with a Vacuum or Brush
What to do: Pull the dryer away from the wall, disconnect the vent hose, and use a shop vacuum and a flexible brush kit to remove lint buildup from both the hose and the wall vent opening. Reassemble and run a test cycle on high heat for 5 minutes.
What to expect: If heat returns, the thermal fuse had been tripped by backpressure and may have self-reset (some thermal fuses are one-time-only, but many cycling thermostats will reset after cooling). If heat still doesn’t come back, the fuse is likely blown and must be replaced.
Common mistake: Thinking the vent “looks fine” because the hose is only partially blocked. A 50% clog can still cause overheating—test with a vacuum, not your eyes.
Step 2: Test the Thermal Fuse for Continuity
What to do: Locate the thermal fuse. On most Maytag electric dryers, it’s mounted to the blower housing or the exhaust duct inside the back panel. Remove the two wires, set your multimeter to continuity (or the lowest ohm setting), and touch the probes to each terminal.
What to expect: A reading of 0 ohms (or a beep on the continuity setting) means the fuse is good. No reading (OL) means it’s blown and must be replaced. Stop here if the fuse is blown—replace it with an exact OEM or equivalent part. Do not bypass the fuse; that creates a fire hazard. After replacement, run a test cycle. If it blows again immediately, the real problem is a blocked vent or a failing blower wheel that is causing overheating.
Common mistake: Using automotive-style fuse replacements. Maytag dryers use specific thermal fuses rated for 286°F or 330°F; using the wrong temperature rating can cause nuisance trips or unsafe operation.
Step 3: Check the Cycling Thermostat and High-Limit Thermostat
What to do: These thermostats look similar to the thermal fuse but are usually smaller and have two terminals. Test them the same way—probe for continuity. Some cycling thermostats should show continuity when cold; if they read open (no continuity), they need replacement. The high-limit thermostat typically sits on the heater housing.
What to expect: A good thermostat will show nearly 0 ohms at room temperature. A faulty one will read open. Replace any thermostat that fails the continuity test.
Common mistake: Assuming a thermal fuse and a thermostat are the same. They function differently: the fuse is one-time blow, while a thermostat can reset after cooling. Label each part before removing wires to avoid confusion.
Step 4: Inspect and Test the Heating Element
What to do: With the dryer still unplugged, locate the heating element inside the heater box. Visually inspect the coil for any broken, burned, or separated sections. Then use your multimeter to measure resistance across the two terminals of the element.
What to expect: A good heating element typically shows 5–25 ohms of resistance, depending on the model (check your service manual for the exact value). An infinite reading (OL) means the element is open and must be replaced. A very low reading (near 0) indicates a short, which can trip the breaker—also replace.
Common mistake: Only visually inspecting the element. A break may be hidden behind a coil loop. Always confirm with a multimeter.
Step 5: Evaluate the Timer or Control Board (Last Resort)
What to do: If all thermal protection components and the heating element test good, the issue may be electrical—the timer or electronic control board may not be sending power to the heating circuit. This requires a wiring diagram and more advanced testing, such as checking for 240V AC at the heater terminal block during a cycle. This is the point where most DIYers should stop.
What to expect: On older Maytag dryers with mechanical timers, a faulty timer motor or contact can prevent heat. On newer digital models, a failed main control board can cause intermittent heat loss. Diagnosis at this level often requires a multimeter with AC voltage capability and careful reference to the schematic.
For a broader overview of all common Maytag dryer failures and how to handle them, see our guide on fixing Maytag dryer issues common problems and solutions. That resource covers additional scenarios like no-tumble and unusual noises that often accompany heating problems.
Verification – Confirm the Fix Before Declaring Success
After any part replacement, run the dryer through a complete high-heat cycle (at least 10 minutes). Confirm that the exhaust air feels hot to the touch, the cycle completes without tripping fuses, and the clothes come out dry. If the thermal fuse blows again within the same cycle, the root cause (vent blockage or blower issue) remains unresolved. Normal behavior: the dryer heats steadily until the selected temperature is reached, then cycles the heat on and off to maintain it. If heat comes on strong for only a few minutes then stops, the cycling thermostat or element may have a delayed failure.
When to Stop DIY and Call a Repairman
Some scenarios push this job beyond safe home repair:
- Gas dryer: If you have a gas Maytag dryer, skip all heating element checks and only test the igniter, flame sensor, and gas valve coils. Working with gas components carries a severe burn and explosion risk. If you are not confident, call a pro.
- Thermal fuse blows repeatedly after vent cleaning: This signals a deeper airflow problem, such as a crushed internal duct, a failing blower wheel, or a stuck blower fan. A technician can run a pressure test to pinpoint the restriction.
- Burning smell or visible smoke: Unplug immediately and call a professional. A charred wire harness or melted thermostat housing indicates an overheating event that can damage other parts.
- Control board failures: Replacing a control board on a modern Maytag can cost $200–$400. Considering the age of the dryer, a repairman can advise whether a board replacement makes economic sense compared to a new unit.
Q&A
Can I bypass the thermal fuse to see if the dryer will heat?
No. The thermal fuse is a critical safety device. Bypassing it disables overheat protection and creates a serious fire risk. Always replace a blown fuse with a properly rated part.
How do I know if the heating element is bad without a multimeter?
A visual check for broken coils or burn marks can suggest a problem, but a multimeter is the only reliable method. Many elements fail internally without visible damage. Without a multimeter, you risk replacing a good part.
Why does my Maytag dryer heat for a few minutes and then stop?
This is a classic symptom of a faulty cycling thermostat that is opening too early, or a heating element that has a weak spot causing it to open when hot and close when cool. A failed high-limit thermostat can also cause this pattern. Test all thermostats and the element while cold, and then again after they have cooled from a short run.
Can a clogged lint screen cause no heat at all?
Indirectly, yes. A severely clogged lint screen reduces airflow, causing the dryer to overheat and blow the thermal fuse. Once the fuse is blown, the heating element will not receive power, resulting in zero heat. Clean the lint screen after every load and check the vent path if you have repeated fuse failures.
For a step-by-step walkthrough of the entire diagnostic process with visual references, our easy steps troubleshoot Maytag dryer page provides a companion guide that pairs well with this article.