
How to Install and Replace Your GE Dryer Belt – A Complete Guide
If your GE dryer has stopped tumbling clothes, the most common culprit is a broken drive belt. Replacing this part is a straightforward DIY repair that can save you money and get your laundry routine back on track. This guide provides a complete walkthrough on how to install and replace your GE dryer belt.
Tools and Parts for GE Dryer Belt Replacement
Before you begin, gather the necessary tools and ensure you have the correct replacement belt for your specific GE dryer model.
- Tools:
- Screwdriver set (Phillips and flathead)
- Nut drivers or socket set (common sizes: 1/4-inch, 5/16-inch)
- Putty knife or thin pry tool
- Needle-nose pliers
- Work gloves
- Parts:
- Replacement dryer belt (verify the exact part number for your GE model)
Preparing Your GE Dryer for Repair
Accessing the dryer belt typically involves removing the front panel or the entire appliance cabinet. The exact procedure varies by GE model, but the general sequence is as follows:
1. Disconnect Power: Unplug the dryer from the electrical outlet. For gas dryers, also turn off the gas supply valve.
2. Access the Drum Area:
- Front Panel Removal: On many GE models, you’ll need to remove the front panel. This often starts with removing the control panel screws (usually at the top), disconnecting wire harnesses, and then unscrewing the front panel from the base. Some models use clips that can be released with a putty knife.
- Cabinet Removal: Other models may require removing the entire cabinet. This typically involves removing the top panel, then the back panel, and finally the front panel.
3. Remove the Dryer Drum: Once you have access, carefully lift or slide the dryer drum out of the cabinet. Be mindful of its weight.
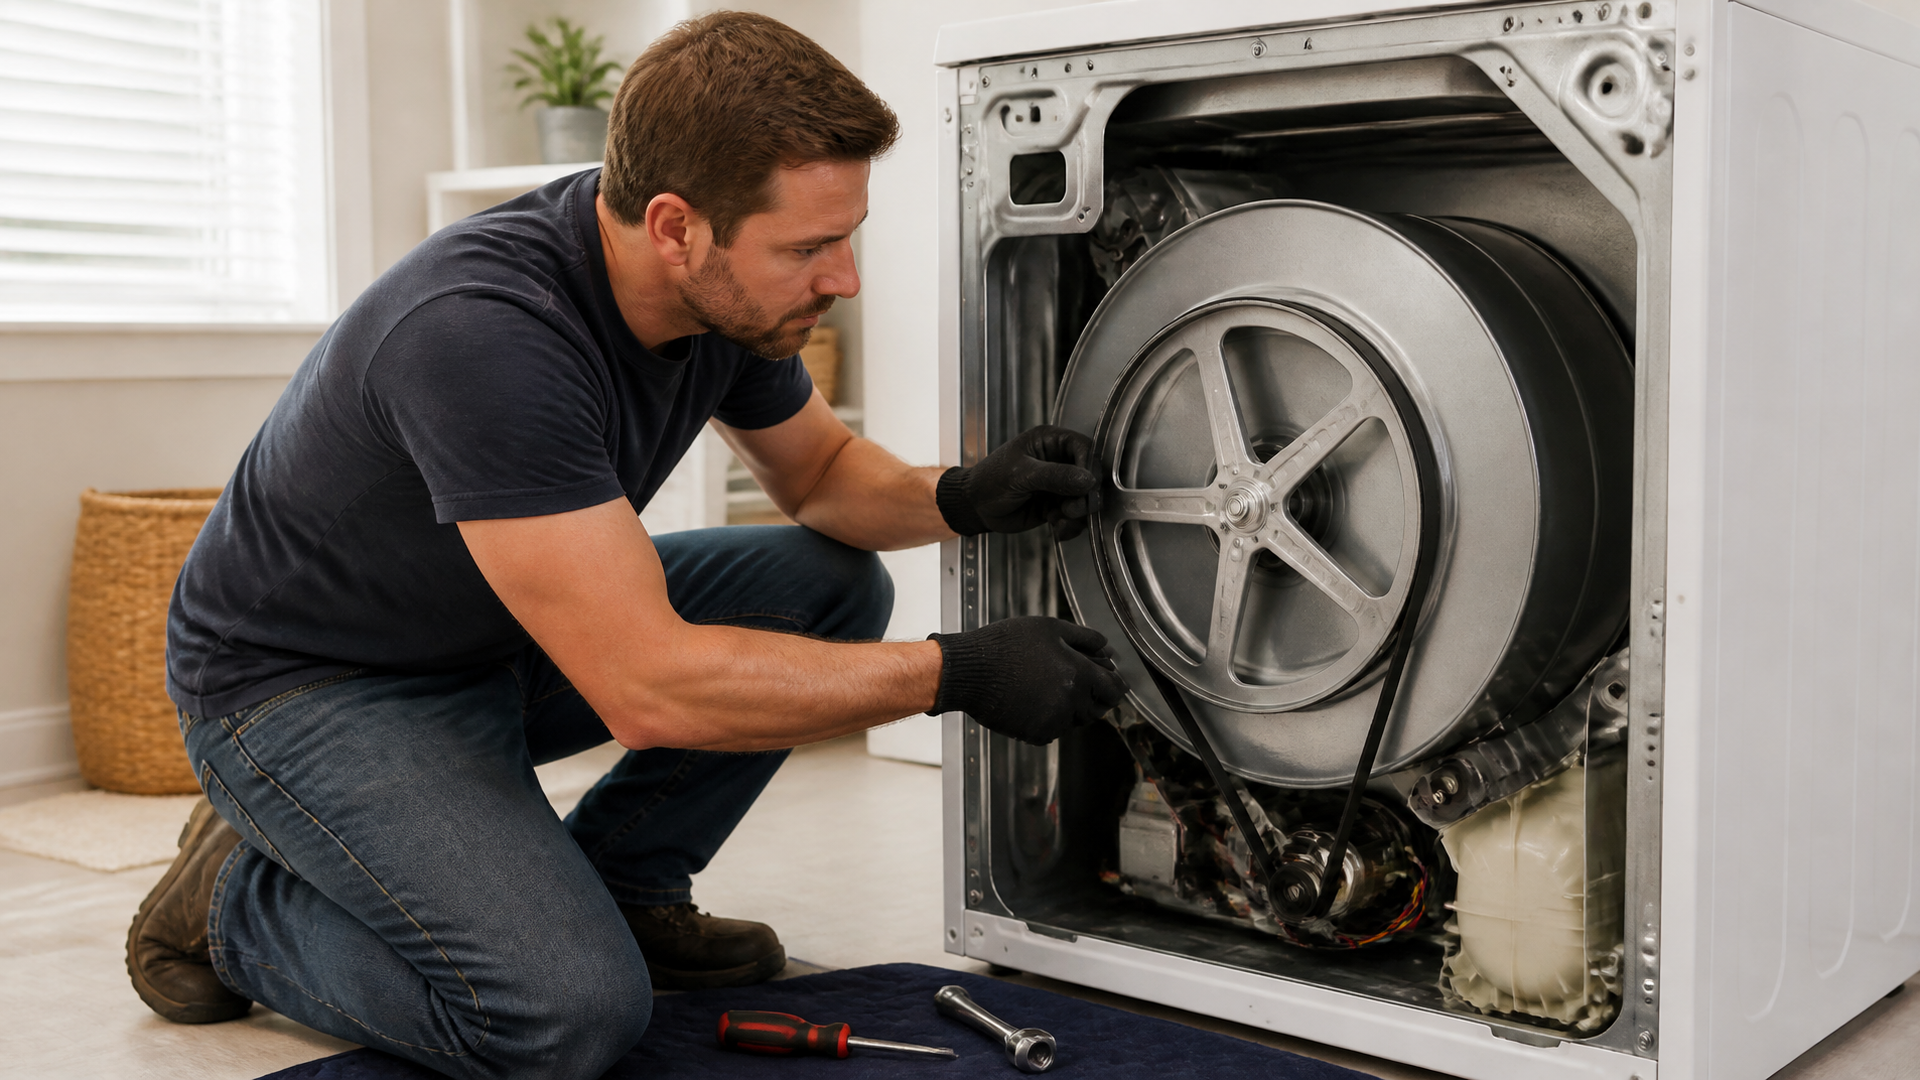
4. Locate the Belt and Pulleys: With the drum removed, you’ll see the old belt. It will be routed around the large drum support pulley and smaller motor and idler pulleys.
Step-by-Step: Replacing the GE Dryer Belt
Follow these steps to remove the old belt and install the new one.
Removing the Old Belt
1. Note Belt Routing: Before removing the old belt, take a moment to observe how it’s wrapped around the pulleys. A quick photo on your phone can serve as a useful reference for reassembly.
2. Release Belt Tension: The belt is held taut by an idler pulley. You’ll need to push this idler pulley away from the belt to create slack.
3. Remove the Belt: With tension released, slide the old belt off the motor pulley, the idler pulley, and the large drum support pulley.
Installing the New Belt
1. Route Around Motor and Idler Pulleys: Start by looping the new belt around the motor pulley and the idler pulley. Ensure the belt lies flat and isn’t twisted.
2. Loop Around Drum Pulley: Carefully guide the belt around the large drum support pulley.
3. Apply Tension: Use the idler pulley to tension the new belt. Press the idler pulley against the belt and loop the final section of the belt onto the drum pulley. Confirm the belt is seated correctly on all pulleys.
4. Check Belt Alignment: Manually spin the drum to ensure the belt moves smoothly and stays centered on all pulleys without slipping or wobbling.
Common Pitfalls in Dryer Belt Replacement
A frequent issue during GE dryer belt replacement is incorrect belt routing or inadequate tension. If the belt isn’t routed precisely as the original, or if the idler pulley doesn’t apply enough pressure, the drum might not tumble correctly, or the belt could detach during operation.
- Early Detection: After installing the new belt but before fully reassembling the dryer, plug it in and run a short test cycle. Listen for any unusual noises and observe if the drum tumbles smoothly. If you notice hesitation, grinding, or if the belt appears loose, immediately unplug the dryer and re-examine the belt’s routing and tension. This check is crucial to avoid having to take the dryer apart again.
Reassembly and Testing
Once the new belt is correctly installed and tensioned, proceed with reassembly and testing.
1. Reinstall the Drum: Carefully place the dryer drum back into the cabinet, ensuring it rests properly on its support rollers.
2. Reassemble Panels: Reattach the front panel or cabinet components in the reverse order of their removal. Ensure all screws are tightened and clips are secured.
3. Reconnect Power: Plug the dryer back into the power outlet. For gas dryers, turn the gas supply valve back on.
4. Test the Dryer: Run a short test cycle with a few items inside. The drum should tumble smoothly, and the dryer should heat properly. If you encounter issues, understanding how to fix GE dryer not spinning after belt replacement can be helpful.
Troubleshooting After Belt Replacement
If your GE dryer isn’t functioning correctly after the belt replacement, consider these common issues:
- Drum Not Tumbling: Re-verify the belt’s routing and tension. Ensure it’s properly seated on the motor, idler, and drum pulleys.
- Unusual Noises: A squealing or grinding sound could indicate belt misalignment, interference with other components, or a failing idler pulley.
- Dryer Not Heating: Belt replacement typically does not impact the heating element. If the dryer tumbles but doesn’t heat, the problem likely lies with the heating element, thermostat, or thermal fuse. For assistance with these issues, you might need to learn how to replace a GE dryer heating element.
Pre-Repair Diagnostic Checklist
Before you consider calling a professional, run through this quick diagnostic check:
- Is the dryer securely plugged in, and is the corresponding circuit breaker engaged?
- Is the new belt routed correctly around all designated pulleys?
- Does the idler pulley provide adequate tension to keep the belt taut?
- Are all internal panels and components securely reassembled?
- Is the lint filter clean and properly seated?
CODEBLOCK_0
Frequently Asked Questions
Q: How often should I expect to replace my GE dryer belt?
A: Dryer belts are considered wear-and-tear parts and don’t have a fixed replacement interval. They typically last between 3 to 10 years, with longevity depending on usage frequency and dryer quality. The primary indicator for replacement is when the dryer stops tumbling clothes.
Q: Can I use a generic “universal” dryer belt, or is a specific GE model belt required?
A: While universal belts are available, it is strongly recommended to use the exact replacement belt specified for your GE dryer model. Using the correct belt ensures proper fit, consistent tension, and optimal longevity, preventing premature wear or operational problems. You can usually find the correct part number in your dryer’s user manual or by searching online using your dryer’s model number.
Q: My dryer is emitting a loud squealing sound after I replaced the belt. What could be the cause?
A: A loud squealing noise often suggests that the belt is not correctly tensioned or is misaligned. Ensure the idler pulley is positioned correctly and applying enough pressure to keep the belt taut. Also, verify that the belt is running flat on all pulleys and is not rubbing against any internal dryer components. If you’re having trouble with the overall process, understanding how to install a dryer belt in a GE dryer might offer additional clarity.
